Cinnamon Rolls

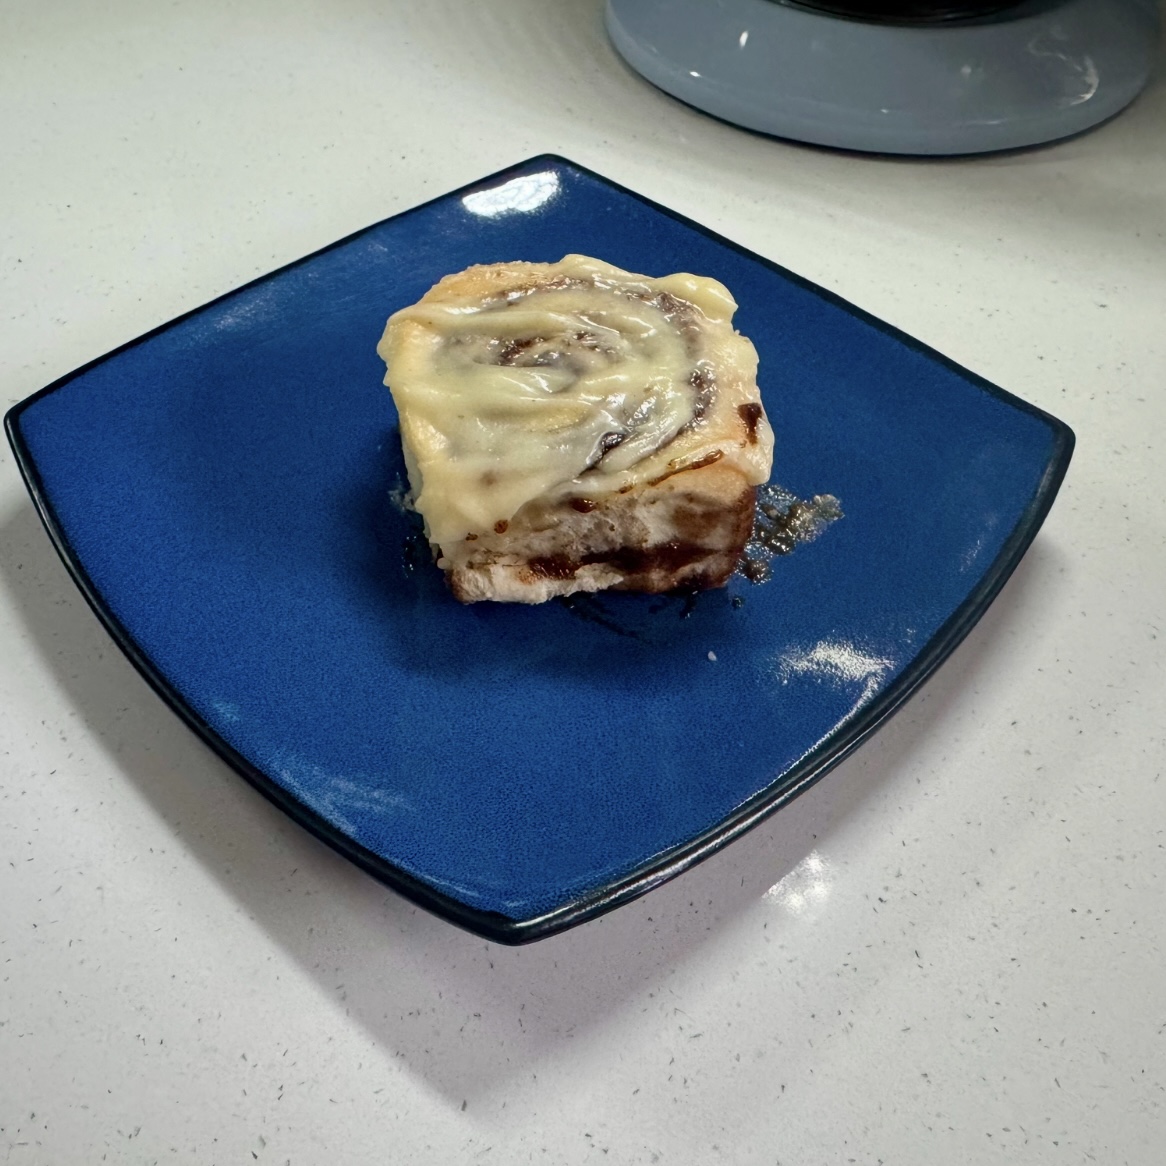
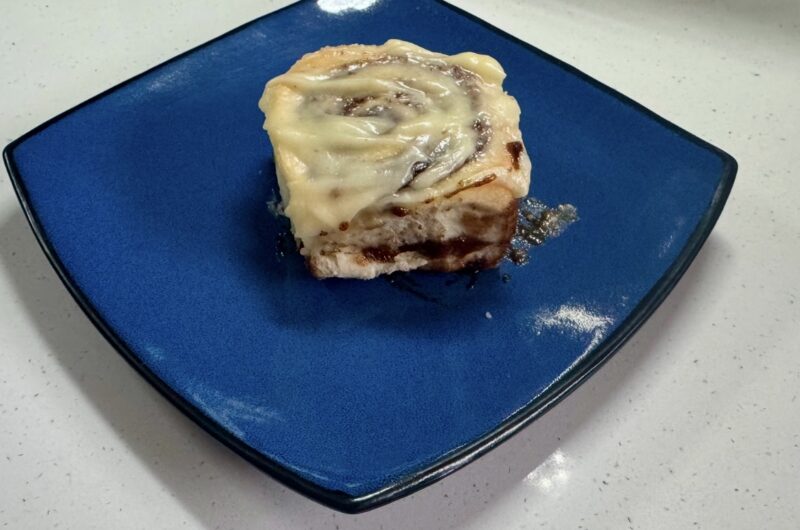
There’s something magical about the scent of cinnamon filling the air, swirling with the sweet aroma of freshly baked dough. Cinnamon rolls have a special way of bringing comfort and warmth to any occasion, whether it’s a lazy Sunday morning, a cozy holiday breakfast, or a sweet treat just because. And, for those of you that have been following this journey know, this is our first recipe in a while! That is because we have been undergoing a kitchen renovation! And what better way to break in a new kitchen than with one of the most beloved baking classics? In this post, we’re diving into the art of making these irresistible cinnamon rolls from scratch. Get ready to indulge in the ultimate combination of warmth, sweetness, and cinnamon goodness!
Jump to RecipePerfect Make-Ahead Recipe
My favorite part about these cinnamon rolls is that they can be prepared the night before! Thus, allowing you to wake up to the heavenly aroma of freshly baked pastries without all the work. To do this, we will assemble the rolls up until their second proof before setting them in the fridge overnight. This gives the dough time to ferment, deepening the flavor, while also saving you precious time in the morning.
When you are ready to bake, simply remove the rolls from the fridge, let them come to room temperature for about 45 minutes, and then bake as usual. You can also set your oven to the bread proofing setting and let them undergo their second proof there! I find this method is more reliable/consistent as it helps reduce the variability in kitchen temperature throughout the year. The result is warm, melt-in-your-mouth cinnamon rolls with minimal effort—just like waking up to a bakery in your own kitchen.
Useful Tools
Stand Mixer – The Cuisinart Stand Mixer makes everything easier! It also comes with a bread hook attachment which we use here and for our Papo Secos (Portuguese Rolls).
Silicone Baking Mat – I love this mat as it is extremely easy to clean and is less likely to stick. Most importantly, though, is it is metered on all sides and has measured circles, making it perfect for both this recipe and for my grandma’s scones!
Scraper – The OXO Good Grips Bench Scraper makes cutting dough a breeze. This is the perfect tool to ensure your rolled out dough is even on all sides before filling!
How Do You Make The Perfect Cinnamon Rolls?
Cinnamon Rolls
Course: BreakfastCuisine: AmericanDifficulty: Medium9
servings3
hours20
minutes410
kcalThese cinnamon rolls can easily be prepared the night before to allow for a quick morning bake!
Ingredients
- Dough
3/4 cup Whole Milk (warmed to ~110°F)
2 1/4 tsp Active Dry Yeast
1/4 cup granulated sugar
1 whole egg
1 egg yolk
1/4 cup butter (melted)
3 cups bread flour
1 tsp salt
- Filling
2/3 cup dark brown sugar
2 Tbsp ground cinnamon
2 Tbsp butter (softened)
- Cream Cheese Frosting
3 oz cream cheese (softened)
1/2 cup powdered sugar
2 Tbsp butter (softened)
1 tsp vanilla extract
Directions
- Warm milk in a microwave safe bowl to ~110°F by microwaving in increments of 30 seconds and checking with an instant thermometer. Transfer to stand mixer and add active dry yeast. Allow to sit for 10 minutes until the yeast is activated and the mixture is bubbling.
- To the activated yeast, add the granulated sugar, egg, egg yolk, and melted butter (slightly cooled so as not to kill the yeast). Mix by hand until well incorporated.
- Attach the dough hook to the stand mixer, and then slowly add in the salt and flour.
- Knead the dough on medium for 8-10 minutes until the dough forms a smooth ball. This can also be done by hand if desired.
- Use Crisco or oil to grease a large bowl. Transfer the dough to the well-oiled bowl and cover with plastic wrap and a warm towel. Place either in a warm area, or in the oven on the bread proofing setting. Allow the dough to double in size, which should take roughly 60-90 minutes.
- While dough is proofing, prepare the cinnamon sugar filling by mixing the brown sugar and cinnamon in a small bowl, ensuring large clumps are broken up.
- Once the dough is doubled in size, transfer dough to a well-floured surface and roll out into a 14×10 inch rectangle. I typically will go just a little larger and then use a dough cutter to cut off excess to form straight edges.
- Spread the softened butter over the entirety of the dough.
- Sprinkle the cinnamon sugar filling over the buttered dough, patting it down afterwards to help it stay in place.
- Starting from the 10-inch side, tightly roll the dough and place the seam side down. Using a serrated knife, remove ~1/2 inch from each end as these will likely not be filled fully with the cinnamon sugar filling.
- Using a serrated knife, cut the now 9-inch roll into 1 inch slices, yielding 9 even pieces.
- Place the cinnamon rolls in a well-greased 9×9 inch baking pan (I greased this with Crisco once again).
- Cover with plastic wrap and place in fridge overnight.
- When ready to bake, remove from fridge, and allow for the tray and rolls to come to room temperature for ~45 minutes, or place in the oven on the bread proofing setting. The rolls should puff up and close gaps between one another in the baking tray during this time.
- Preheat oven to 350°F and bake cinnamon rolls for 20 minutes or until slightly golden brown on the edges. Allow to cool for 5 minutes before frosting.
- For the frosting, you can either make it while the rolls are cooling or the day before, and simply store in the fridge overnight as well. Simply combine cream cheese, powdered sugar, butter, and vanilla extract using a stand or hand mixer, beating until fluffy. Spread over the cinnamon rolls and enjoy!
Notes
- You don’t need to rest the cinnamon rolls in the fridge overnight if you do not want to. Instead, you would simply allow them to have a second proof for ~45 minutes after placing them in the well-greased pan and covering them with plastic wrap/towel in step 13.


