Peanut Butter Blossoms (Easy Recipe!)

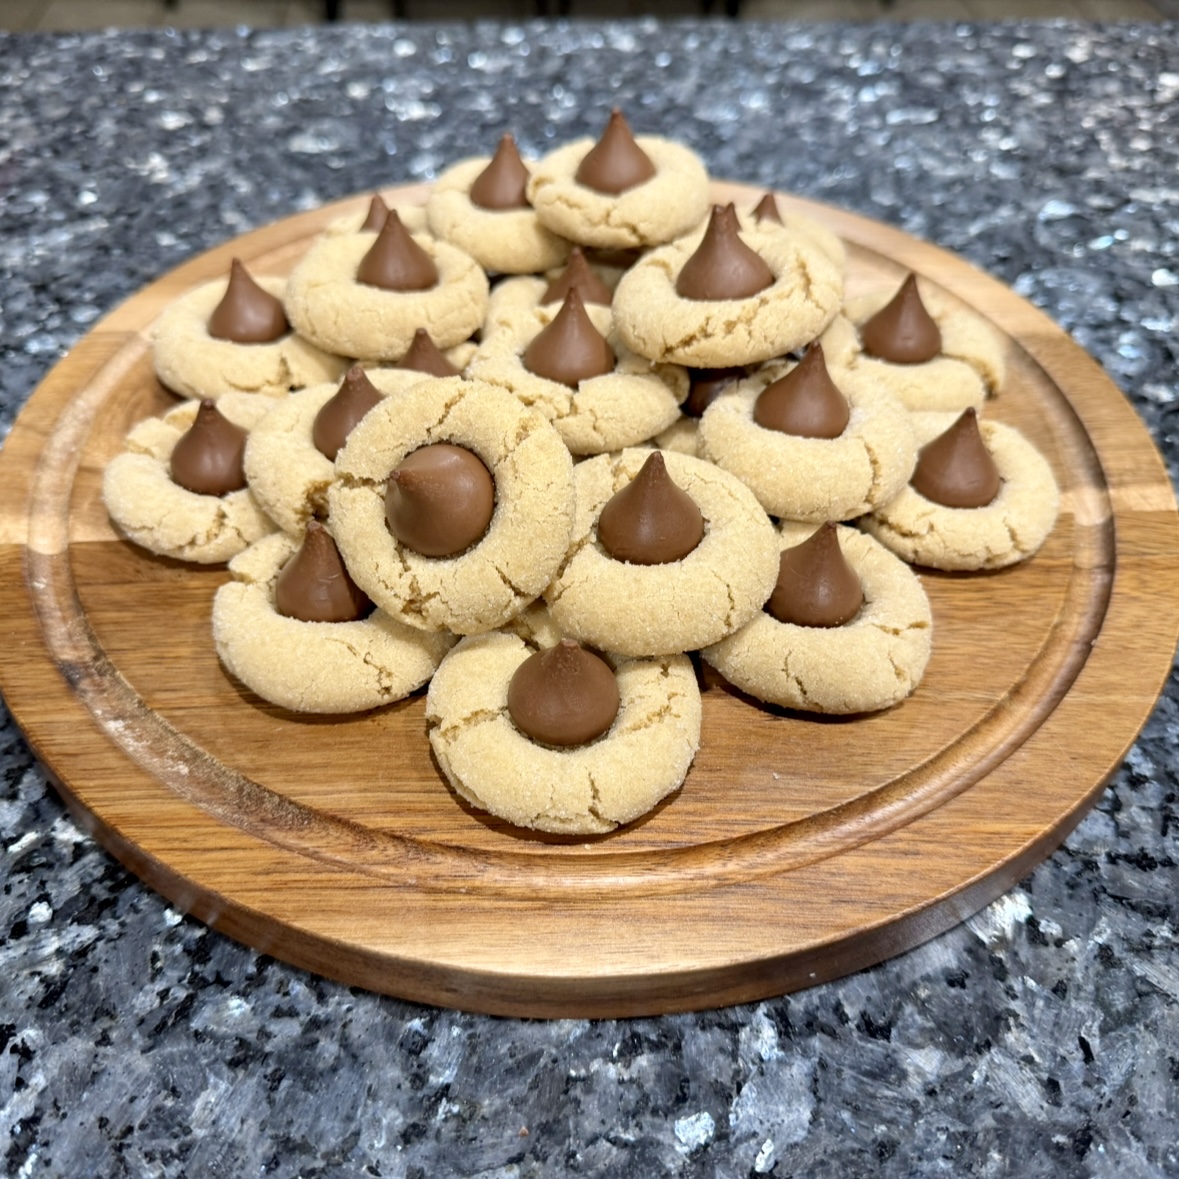
When it comes to classic flavor combinations, few can top the irresistible combo of peanut butter and chocolate. And what is the best mash up of these two flavors? To me there is no argument for anything other than classic peanut butter blossoms. They are the ultimate treat: soft, chewy, and oh-so-satisfying.
Jump to RecipeA Match Made in Heaven
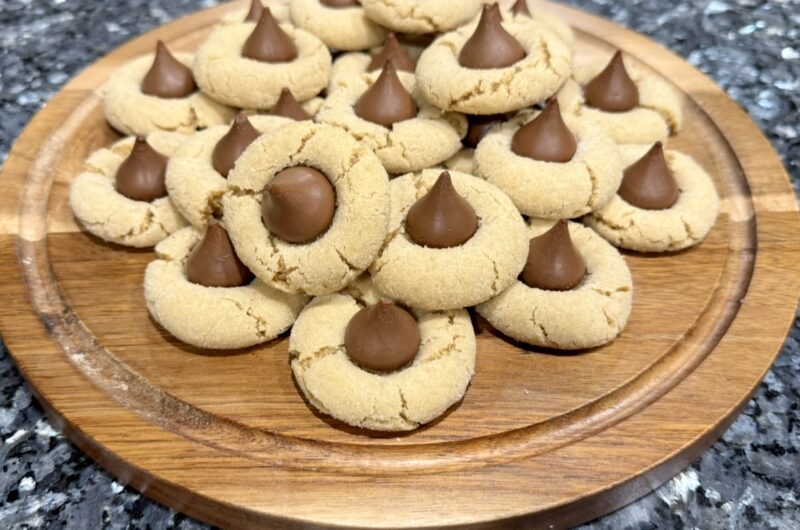
There’s something magical about how these cookies come together. They have a slightly salty, melt-in-your-mouth peanut butter base, complimented by the delicate crunch of sugar, and, of course, that perfectly placed Hershey’s Kiss on top. It’s the ultimate balance of sweet, salty, and rich, with every bite delivering a bit of nostalgia and comfort.
Peanut butter blossoms are the kind of cookie that never goes out of style. They’re perfect for any occasion, from casual afternoons to holiday celebrations. The peanut butter gives them a rich, hearty flavor, while the chocolate kiss on top adds just the right amount of sweetness to create the perfect bite.
Not only does the flavor pair so well, but the texture of the cookies are delectable. The soft, chewy peanut butter cookie melts in your mouth, and the chocolate kiss stays just the right amount of melty, creating a satisfying contrast. The key to magical smoothness is to return the cookies to the oven after placing the kiss for 3 minutes. They’re just the right size, too—small enough to enjoy a couple (or a dozen) without feeling guilty, but with enough flavor to leave you craving more. Plus, they’re incredibly easy to make, with ingredients easily found in your pantry, which makes them an ideal go-to recipe when you need to whip up something quick.
Useful Tools!
As per usual, I want to give you some insight on how I prepare these recipes in my own kitchen! Below you will find some of the tools/kitchenware I use to ensure perfection for these peanut butter blossoms:
- Jelly Roll Pans – I use all three of these, lined with parchment paper to perfectly fit all 42 cookies!
- Measuring Cups – I personally feel as though metal measuring cups are more reliable than plastic ones – I have no actual evidence of this, it is just a vibe…
- Stand Mixer – The Cuisinart Stand Mixer makes everything easier! It also comes with a bread hook attachment perfect which we use for our Papo Secos (Portuguese Rolls).
- Cooling Rack – If there is ever something I feel as though I could use more of, it is cooling racks! These are the perfect size, yet I still wish I could have 10 of them!
How to Bake Peanut Butter Blossoms
Peanut Butter Blossoms (Easy Recipe!)
Course: DessertCuisine: AmericanDifficulty: Easy42
Cookies15
minutes10
minutes120
kcalWhen it comes to classic flavor combinations, few can top the irresistible combo of peanut butter and chocolate. And what is the best mash up of these two flavors? To me there is no argument for anything other than classic peanut butter blossoms. They are the ultimate treat: soft, chewy, and oh-so-satisfying.
Ingredients
1/2 cup peanut butter (smooth)
8 Tbsp butter (room temperature)
1/2 cup granulated sugar (plus extra for dusting)
1/2 cup light brown sugar (packed)
1 egg (room temperature)
1 Tbsp milk
1/2 Tbsp vanilla extract
1 3/4 cups all-purpose flour
1 tsp baking soda
1/2 tsp salt
4 dozen Hershey kisses (unwrapped)
Directions
- In a stand mixer, cream together the butter, peanut butter, granulated sugar, and brown sugar. Mix on medium speed until well combined.
- Add the egg, milk, and vanilla extract, beating on medium speed until well incorporated.
- In a medium bowl, sift together the flour, baking soda, and salt. Slowly add this to the peanut butter mixture, portion wise. Once completely added, scrape the bowl with a spatula to ensure nothing is sticking to the bottom or sides, before mixing for another minute.
- Preheat the oven to 375°F.
- Line cookie sheets with parchment paper, then roll the dough into 1-inch balls, placing them ~2 inches apart.
- Once the cookie dough is evenly distributed, add additional granulated sugar to a small bowl. Proceed to then place one to three of the cookie dough balls in the bowl, gently shaking to coat them completely in sugar. Place the coated balls back onto the cookie sheet, and continue this process until all are coated.
- Bake until light brown and puffy, about 7 minutes.
- Remove from the oven, and quickly place a chocolate kiss in the center of each cookie. Press firmly down in the center of the cookie, allowing for the sides to crack slightly.
- Return the cookies to the oven for an additional 3 minutes, allowing for the chocolate kisses to soften.
- Remove from the oven, and place on a cooling rack to stiffen before serving. Enjoy!


